I finally managed to play a game last Friday evening, at my local club - Farnborough Wargames Society. I had originally intended to play with Two Hour Wargames' War Against Japan supplement for their Nuts! WW2 rules, but for some reason - that I still don't understand! - I just could not bring myself to re-read them in preparation for this game. Having heard nothing but good things about them, I decided to get Too Fat Lardies' I Ain't Been Shot Mum (IABSM) rules as a substitute and, I feel compelled to say, I'm really glad that I did! But more on the rules in Part 5 of this series.
So, the game itself. As it was our first time using the rules, we went for a simple scenario; I declared, with the full agreement of my opponent, Tim Cull (the ever-reliable newsletter editor for our club) that our game would represent an early 1943 encounter between a force of Japanese attempting to put a road-block behind a Commonwealth force that was on a road off table, and a British force sent to prevent them. Both forces would consist of infantry only, with one platoon entering the table at game start and the other appearing as a 'blind' once the enemy had been spotted.
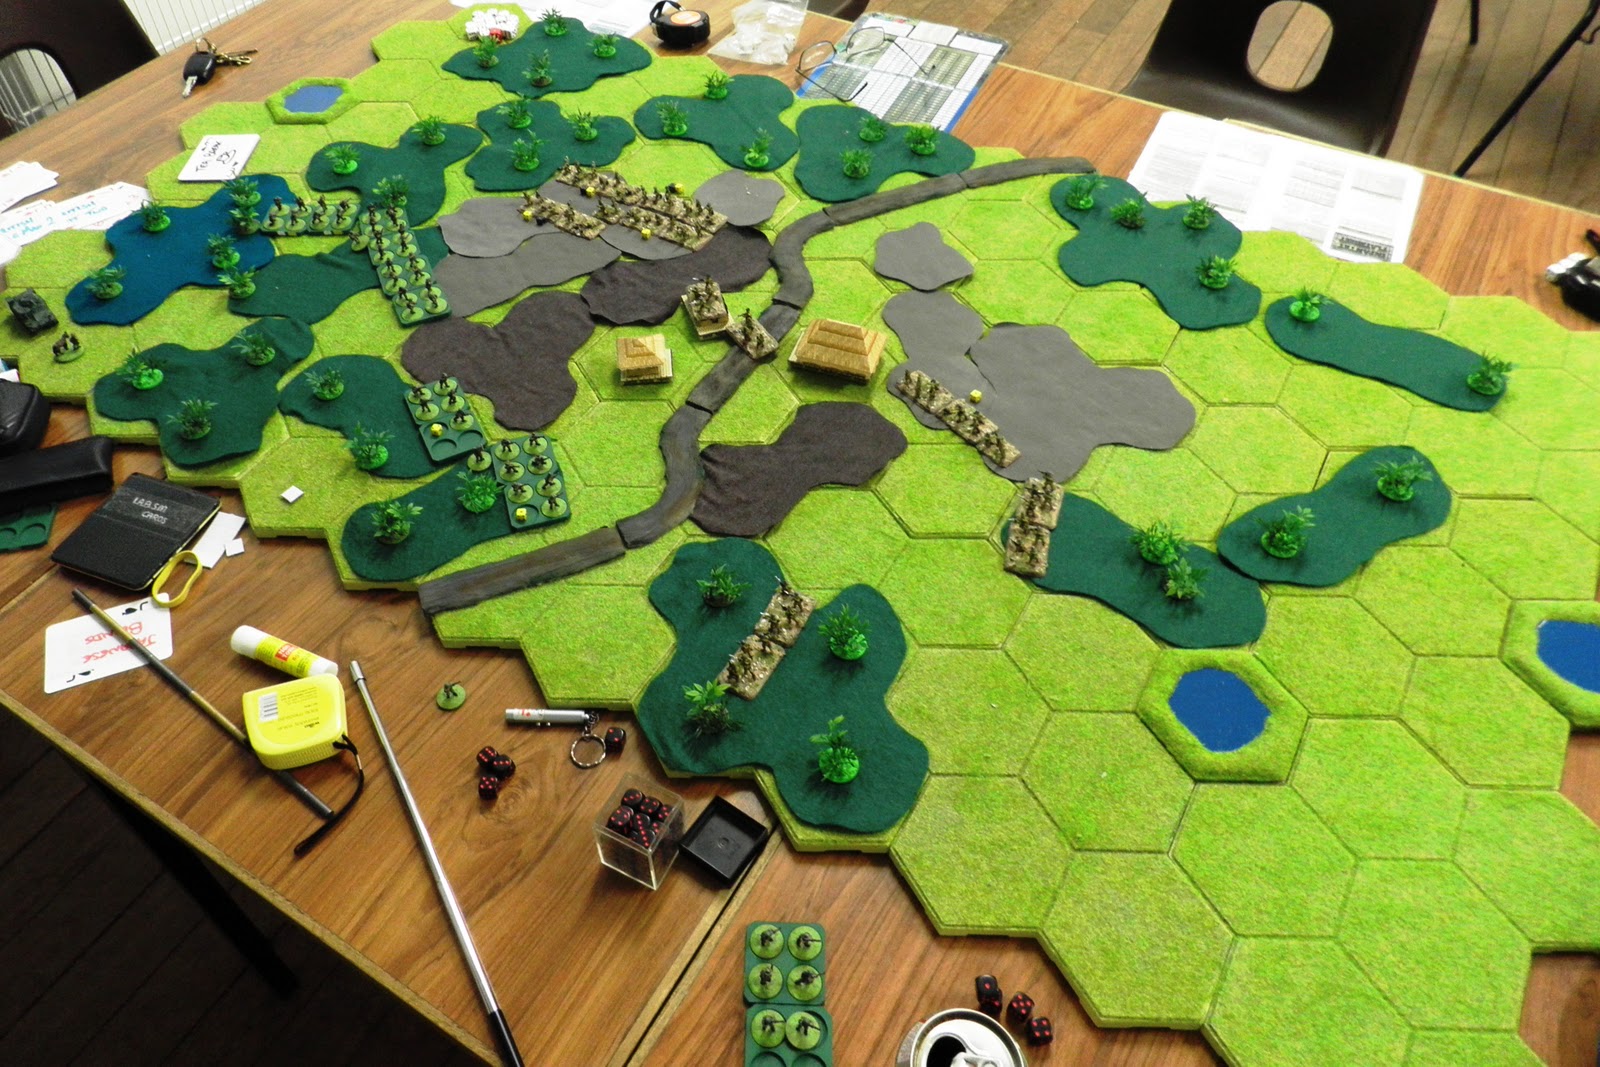
So, in the photo of the table below; the first Japanese platoon came on table on the top edge between the road and the right hand edge, while the British entered on the bottom edge from the road leftwards:

Unfortunately, this picture was taken quite a way through the game - the ones I took earlier had the exposure settings that I use at home, which under the strip lights in the community centre, resulted in some god-awful, over exposed useless piccies ... oh well, I'll know better for next time!
Anyway, unknown to me until I arranged the game, Tim has a large force of WW2 Japanese based for Flames of War, but hadn't used them as apparently there is no FoW supplement detailing the Japanese, so he was eager to use them in this game. Here's a close-up of some of them:

The game itself went well for the Japanese and badly for the British ... :( I could blame IABSM's card based activation and dicing for movement and then claim bad luck on the movement dice, but basically I wasn't aggressive enough. The picture following shows how I didn't seize the centre ground around the village fast enough, allowing Tim's Japanese to get there and establish a firing line and send a section on sweep around my right flank (seen in the patch of jungle at the bottom edge of the table). Consequently, I had my lead section ravaged by fire. It fell back to the edge of the jungle, joining another section there.
Then the Japanese 'blind' platoon was deployed and immediately charged my section that had been on my left flank, completely destroying it. My 'blind' platoon deployed and gave some rough handling to the newly arrived Japanese in revenge, but it had clearly become a holding action for the British, and not a very successful one at that ...
There are some more pictures though. This shows a view from the southern edge of the village and clearly shows the bases I was using to group my singly-based Brits

Another view here; this time my 'blind' platoon just after deployment with the 2nd Japanese platoon firmly in their sights ...

A fun game and thanks to Tim Cull for making it so!